How to Grow Your Own Hops

By Chelsy Ranard
The craft beer movement is becoming more and more popular with the growing number of breweries popping up, large corporations buying out popular breweries, and a growing number of people brewing their own beer. The popularity of craft beer would not exist without the magnificent hops plant. It is a relatively easy plant to grow and is an attractive plant for your garden. And hops are not only used in beer, but also for teas and for medicinal reasons. Whatever your reasoning, growing hops are can be very beneficial to you as well as your garden.
Overview
Hops are the cones from the Humulus Iupulus plant that are primarily used as a flavoring and stability agent in beer. This plant is a vital climbing plant that has many different varieties available. Much of the world’s production of hops is near the 48th parallel where the climate is moist and temperate. Hops were also used in herbal medicine as a way to help anxiety, stress, and as a mild sedative. It’s been used to make pillows to help sleep patterns and in herbal tea to help restlessness and insomnia. It is being studied in relation to hormone replacement therapy and potential relief for menstruation related problems.
Planting
Before anything else, you’ll need to buy all of your supplies to grow your hops. You’ll need to buy hop rhizomes which is a cutting from a different plant that will sprout into a new plant. They are usually available in early spring. It might be smart to order them online ahead of time if you’re seeking a specific type of hops plant. Plan to plant them in late spring between February and April and if you get them early keep them in a damp paper towel in a Ziploc bag in the fridge until you plant them.
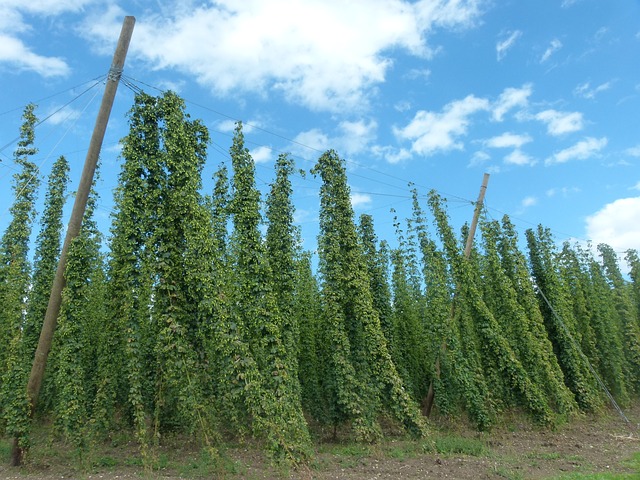
Pick a spot to plant your hops that will have a lot of sun (about 8 hours), vertical space, and good drainage. Make sure you break up the soil, remove rocks and weeds, and fertilize it well with manure or compost at least one foot down. Create a mound for each rhizome about 3 feet apart and 5 inches down. Plant them horizontally and keep the soil loose and moist. You’ll also need some sort of vertical wiring system for the hops to grow onto. Many people use wires from a stake to the side of their home, but the setup is up to you.

Care
Hops are a bine (not vine) and therefore will grow vertically around wire, fencing, or trellis once it’s trained to do so. Once it starts to get long enough, wrap the plant around its base for a few days until it gets the hang of it. Immediately remove any bines that look damaged or weak. Keep your bines trimmed in order to promote healthy growth. Once the plant is a few months old, trip all the leaves off of the bottom 4 inches of the bines to keep the plant from getting damaged by fungus from the soil. Keep the soil weeded, water it every day, and make sure that the soil is draining properly.
Harvesting
Around August or September, in late summer when the cones become dry and papery, you’ll start harvesting. In order to make sure they are ripe, break one open and check for yellow powder, once it’s filled with the yellow lupulin powder its ready. The best time for harvesting is when the cones aren’t heavy and green but aren’t brown either. Be aware that they will probably not all be ready at once. In order to collect the cones, gently twist the cones off of the bine. After harvesting, cut them back to about 3 feet and wait until the next season. In the spring uncover the rhizomes, trim the roots, and start the planting process again.
Once you’ve collected them, dry the hops by laying them on a flat surface away from the sunlight. Keep them in one layer and let a fan blow on them and make sure to flip them so that both sides are dry. You can also use a food dehydrator or hops drying kits that are available to make the drying process easier and faster. Hops should be stored in an airtight Ziploc bag in the fridge or freezer.
Now What
Once you have your hops you have a few options on what to do with your harvest. The most popular choice is to make your own beer with them. Just remember, it’s difficult to measure any characteristics like alpha acid of your home grown hops. Also, do your research on what type of rhizome you grew and what type of beer you’d like to make as hops isn’t a one size fits all plant for this process. You can also sell them, make medicine from them, or make tea. Not only that, but hops are now being tested for the pesticide properties against the varroa mites that are causing issues with honey bee colonies collapsing. Honey bees are vitally important to the world’s ecosystems, so your hops might be able to be used in this process to help their population increase.
This plant is energetic, easy to grow, and creates a product that greatly beneficial to the brewing community. No matter the reason for growing your hops, it will bring life to your garden, a sense of pride in your harvest, and is great for a variety of different health reasons. From tea, to restlessness, to bitter beer, hops are a plant that can excel in all of its uses.


